path = '../images/emoji_u1f98e.png'Core
In this file we define the basic building blocks before implementing the whole project.
We automatically select the device on which to run our experiments.
We also set a basic set of hyper parameters. These hypermeters can later be replaced by other values.
Loading the target image
# load image using PILL
img = Image.open(path).resize((TARGET_SIZE, TARGET_SIZE))

# Convert the image to numpy array
img = np.array(img)
img = img.astype(np.float32) / 255.0

# Display the image
plt.imshow(img)
plt.show()
load_image
load_image (path)
Load the image specified by path and return a torch.tensor version of the image with shape B, C, H, W, already on the default device
img_tensor = load_image(path)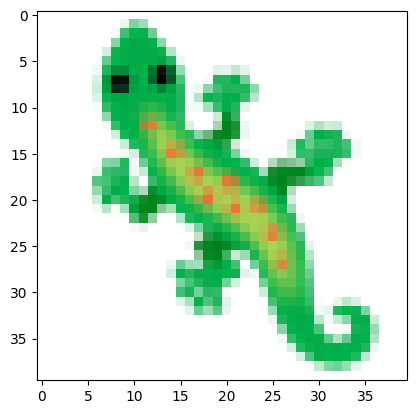
Implementing the filters
filterstensor([[[ 0., 0., 0.],
[ 0., 1., 0.],
[ 0., 0., 0.]],
[[-1., 0., 1.],
[-2., 0., 2.],
[-1., 0., 1.]],
[[-1., -2., -1.],
[ 0., 0., 0.],
[ 1., 2., 1.]]], device='cuda:0')We also need a function that will apply these filters per channel on an input image.
perchannel_conv
perchannel_conv (x, filters)
Let’s test the results of applying the filters to the original image
filtered_images = perchannel_conv(img_tensor, filters)

# We apply 3 filter seperately on the 4 channels of the image
# resulting in a total of 12 images.
# To visualize them we will use a 4x3 grid (channelsxfilters)
plt.figure(figsize=(6,8))
for i in range(12):
    plt.subplot(4, 3, i+1)
    plt.imshow(filtered_images[0, i].detach().cpu(), cmap='gray')
    plt.axis('off')
Create the CA model
First, we’ll create a function to detect alive cells. A cell is considered alive if it has an alpha value greater than 0.1 or if any of its neighbors does.
alive
alive (x, threshold=0.1)
CAModel
CAModel (channel_n, update_rate=0.5)
Base class for all neural network modules.
Your models should also subclass this class.
Modules can also contain other Modules, allowing to nest them in a tree structure. You can assign the submodules as regular attributes::
import torch.nn as nn
import torch.nn.functional as F

class Model(nn.Module):
    def __init__(self):
        super().__init__()
        self.conv1 = nn.Conv2d(1, 20, 5)
        self.conv2 = nn.Conv2d(20, 20, 5)

    def forward(self, x):
        x = F.relu(self.conv1(x))
        return F.relu(self.conv2(x))
Submodules assigned in this way will be registered, and will have their parameters converted too when you call :meth:to, etc.
.. note:: As per the example above, an __init__() call to the parent class must be made before assignment on the child.
:ivar training: Boolean represents whether this module is in training or evaluation mode. :vartype training: bool
Testing the Model…
# Instantiate the model
ca = CAModel(16).to(def_device)

# Create a dummy input
seed = torch.rand(1, 16, TARGET_SIZE, TARGET_SIZE).to(def_device)

# Activate the model
res = ca(seed)

res.shape
torch.Size([1, 16, 40, 40])Display Animation
Later in the experiment, we’ll require a tool for displaying animations. This will be used for visualizing the life and the expansion of the cellular automaton.
# create a dummy series of images
images = []
for i in range(20):
images.append(np.random.rand(40, 40, 4))display_animation
display_animation (images)
| Details | |
|---|---|
| images | A list containing the frames of the animation. Each frame should be of shape [H, W, 4] |
display_animation(images)Create animation from the CAModel
We’ll also incorporate the capability for the model to generate an animation depicting the cellular automaton’s evolution across multiple steps.
show_doc
show_doc (sym, renderer=None, name:Optional[str]=None, title_level:int=3)
Show signature and docstring for sym
| Type | Default | Details | |
|---|---|---|---|
| sym | Symbol to document | ||
| renderer | NoneType | None | Optional renderer (defaults to markdown) |
| name | str | None | None | Optionally override displayed name of sym |
| title_level | int | 3 | Heading level to use for symbol name |
images = ca.grow_animation(seed, 20)display_animation(images)